Your Cart is Empty

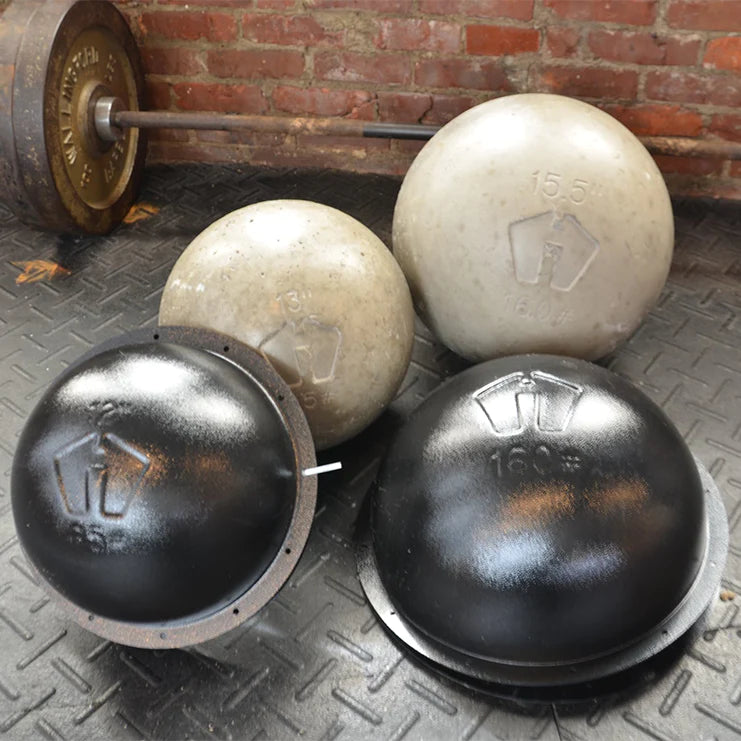
Atlas stones are a popular piece of weightlifting equipment used in strongman competitions. They are round, heavy stones that athletes lift and carry as part of their training or competition. If you're interested in making your own Atlas stones, it's a fun and relatively simple DIY project. In this blog post, we will provide a step-by-step guide on how to make your own Atlas stones at home. All you need is some concrete mix, a round mold, and a few other basic tools and materials. With a little bit of elbow grease and patience, you can create your own custom Atlas stones to use in your workouts.
Here is a step by step guide on how to make atlas stones.
Gather your materials: To make an Atlas stone, you will need concrete mix, a round mold (such as a large plastic planter or trash can), a mixing tool (such as a shovel or hoe), and a release agent (such as cooking spray or petroleum jelly). You will also need a smooth, flat surface to work on and a tarp or plastic sheet to protect your work area.
Prepare the mold: Coat the inside of the mold with a release agent to help the finished stone come out easily. Place the mold on the flat surface and make sure it is level.
Mix the concrete: Follow the instructions on the bag of concrete mix to make the proper consistency. Add water as needed and mix thoroughly until the concrete is smooth and free of lumps.
Pour the concrete into the mold: Fill the mold with the concrete mix, using a tool to smooth and level the surface. Tap the mold gently to help settle the concrete and remove any air pockets.
Allow the concrete to cure: Leave the mold undisturbed and allow the concrete to cure according to the instructions on the bag. This will usually take at least 24 hours, but may take longer depending on the temperature and humidity.
Remove the stone from the mold: Once the concrete has fully cured, gently lift the mold off of the stone. If the stone does not come out easily, you may need to tap the sides of the mold or use a tool to gently pry it out.
Smooth the surface: If necessary, use a sander or other tool to smooth the surface of the stone.
Finish the stone: If desired, you can add a coat of sealer to protect the surface of the stone and give it a polished look.
Note: If you are making a very large or heavy stone, you may need to reinforce the mold with additional support or use a stronger mix of concrete. It is also important to use proper lifting techniques when handling the finished stone to avoid injury.